|   HOME   |   PILATES   |   FOOD   |   FITNESS   |   HEALTH   |   MY STORY   |
Showing posts with label SWEET. Show all posts

Tuesday, November 3, 2015

RICE PUDDING


This rice pudding has been adapted from a 4-Ingredient Recipe by Kim McCosker. I make a big batch of this rice pudding at the beginning of the week and it provides my husband and I with breakfast for four days each (it serves 8!). It can also be served as a dessert! The touch of cinnamon really makes the dish so don't leave it out! 

Ingredients

  • 2 cups arborio rice
  • 4 cups water
  • 2 cups milk or milks of your choice - reduced fat cows milk if you can tolerate dairy or choose from soy, lactose-free, oat or unsweetened almond milk as alternatives
  • 1/2 cup sultanas 
  • 2 teaspoon ground cinnamon
  • Optional - 1-2 servings of fruit of your choice, such as 1 banana, sliced, a handful of blueberries or strawberries 
  • Optional- a handful of shredded or flaked coconut, lightly toasted 

Cooking 

1. Bring the 2 cups of rice and the 4 cups of water to the boil in a medium saucepan, covered. Once boiled, reduce to a simmer and continue to cook, lid askew. 

2. Cook until water has almost all absorbed, then add the milk, 1/2 cup at a time, stirring constantly. Keep heat low. Once the milk has been absorbed into the rice, remove from heat. Add the sultanas and cinnamon and stir well. 

Top with fresh fruit and/or coconut and serve warm. 

Serves /
Total Preparation & Cooking time / 15 minutes 


x Emily 

Thursday, September 3, 2015

MAPLE SYRUP PANCAKES


Pancakes: not always bad for you! They can be, if you serve them alongside ice cream, chocolate, pure cream and knobs of butter. However, just a couple homemade pancakes with a side of fruit can be healthy and delicious at the same time. I like adding the maple syrup to the batter as it gives it more flavour. Also, when you put the syrup in the batter you do not need to add maple syrup to the cooked pancakes, which can result in a lot of extra calories when the maple syrup is poured on at liberty! Cooking pancakes are a great way to cook for both your kids and yourself on a weekend morning. I have very fond memories of my Dad making pancakes and pikelets for us every Sunday morning when I was growing up. I'm sure my mum would have loved when Sunday rolls around, as it was only of the only times he cooked! 


INGREDIENTS

  • 1 cup self-raising flour / gluten-free self raising flour for the intolerant or allergic 
  • 1 egg, lightly beaten 
  • 1 teaspoon vanilla essence 
  • 1 cup reduced-fat cows milk (or soy, lactose-free, unsweetened almond or oat milk if intolerant to dairy)
  • 3 tablespoons maple syrup
  • 200g fresh strawberries, halved 
  • extra virgin olive oil spray or 2 teaspoons 

COOKING 

1. Pour the flour, egg vanilla essence, milk and maple syrup in a large bowl and whisk well to combine until the batter contains no lumps. 

2. Heat a medium to large frying pan over medium-low heat and add 1 teaspoon of oil. Pour 1/4 cup of the pancake batter into the pan per pancake and cook until bubbles appear on the surface. Carefully flip the pancake and cook on the other side until the pancake is browned to your liking. Remove from the pan and cover, keeping warm whilst you repeat this process until no batter remains. The batter should make around 8 large pancakes. 

3. Serve with strawberries 

Serves / 4  = 2 pancakes each 
Preparation & Cooking Time /  30 minutes maximum 


x Emily 

Monday, August 3, 2015

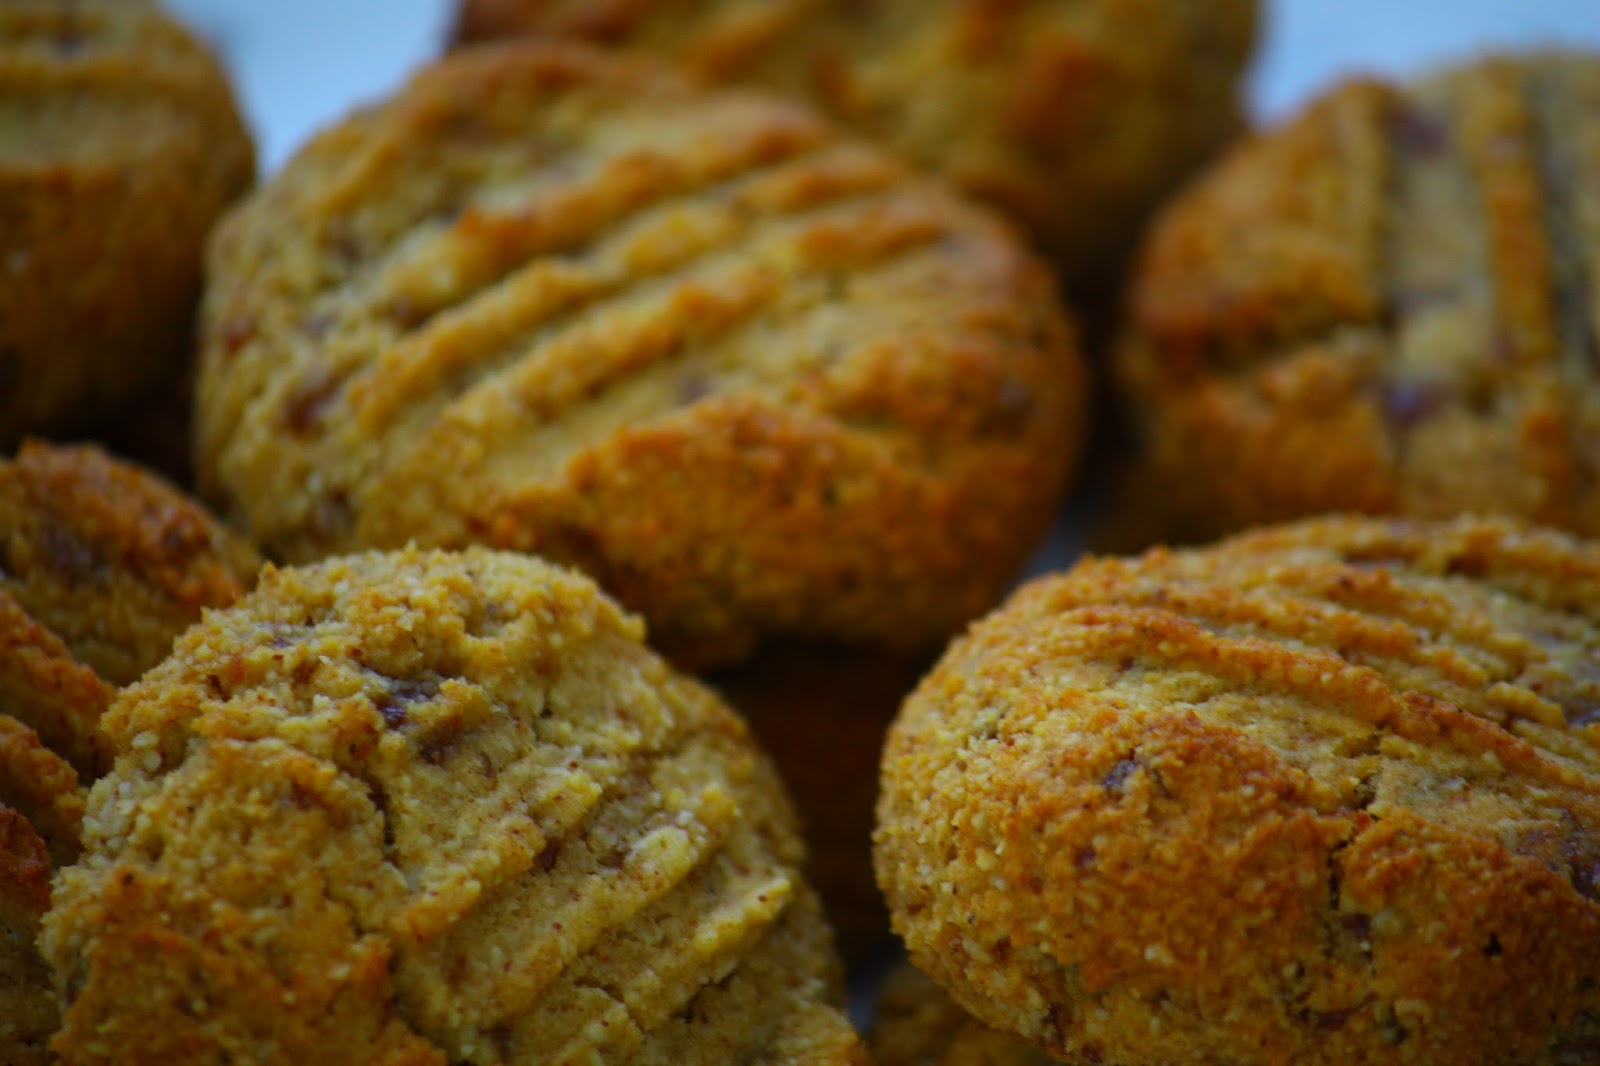
FREE from REFINED SUGAR COOKIES


If you ever seen a professional cook or chef being interviewed they will frequently talk about ‘failures’ they have experienced in the kitchen. I’ve had many, which I will happily share; once I left rice boiling on the stove for not one but TWO hours (needless to say my pan was almost incinerated), another time I served hard as a rock spaghetti (how you screw pasta up I don’t even know) and on a few occasions I have made cookies for my fiancée only to burn them to an absolute crisp. All these failures have been imperative to my cooking journey, however, as I have learnt vital lessons, such as which ingredients never ever go together and that you should always watch the stove and not walk away and get absorbed in another task. All invaluable experiences and not always common sense to all.

 The reason why I bring up this topic is that these 'Free from Refined Sugar cookies' were my third attempt at making gluten-free, dairy-free cookies from scratch. First I tried a chia & poppy seed combination which was basically tasteless (although my gorgeous fiancée ate them all). Secondly I baked a cacao orange dough which was extremely dry and inedible (again they were consumed in a few days by Chris). Third times the charm!   I hope you enjoy these two cookie recipes  

And most importantly; don't sweat the failures in the kitchen. My beautiful friend Dani assured me after my second failed cookie attempt that the next batch would be a hit and it was. Keep experimenting with recipes and flavours - you will constantly be rewarded with new knowledge if not always edible dishes;)

INGREDIENTS

  • 150g almond meal 
  • 100g Medjool dates, roughly chopped & pips removed 
  • 2 eggs, preferably free-range, lightly beaten 
  • 2 tablespoons organic maple syrup
  • 1 teaspoon gluten-free baking powder
  • 1 tablespoon coconut oil, in liquid form
To make Date & Cinnamon cookies add:
  • 1 teaspoon ground cinnamon
  • 1 heaped tablespoon coconut flour 
To make Date & Orange cookies add: 
  • 1 heaped teaspoon of finely grated orange zest
  • 3 tablespoons fresh orange juice 

BAKING 

1. Preheat a fan-forced oven to 160 degrees celsius. Line a large baking tray with baking paper. 

2. Process the dates in a food processor until smooth. You may need to add a splash of water for the dates to obtain a smooth consistency. 

3. Combine the almond meal and dates in a large bowl and mix well. Create a well in the middle of the bowl and pour in the remaining ingredients (the eggs, syrup, baking powder, oil, and either the cinnamon & coconut flour or the orange zest & juice) and stir with a wooden spoon to combine. 

4. With wet hands handle 1 tablespoon of the cookie mixture and roll into a ball. Place the ball onto the tray and then gently press the back of a fork into the batter so that the dough becomes a circle. Continue this until no dough remains, making sure to place the cookies a few centimetres apart on the tray. Place the tray in the oven for around 30 minutes or until the outsides of the cookies are lightly golden. Remove from the oven and leave to cool on a wire rack before eating. 

Makes / around 15 
Total Preparation time / 10-15 minutes 
Total Baking time / 30 minutes 

x Emily 

Tuesday, July 28, 2015

HEALTHY GLUTEN FREE MUESLI CUPS


I found the inspiration for this recipe in a 'Who' magazine that I was reading on a plane the other day. These were initially 'Vegan Quinoa & Chia Bars' however after a few experiments in the kitchen alternating the recipe it changed. If you would like to make the recipe vegan friendly, substitute the egg white for 1 tablespoon chia seeds and whisk these with 1/4 cup water, then leave to stand for at least 10 minutes or until the ingredients have become gel like. I used egg as 1. I eat eggs, 2. when cooked chia seeds lose almost all of their nutrients, and 3. in my humble opinion I think they make the muesli cups stick together more favourably. I like using puffed rice in sweet recipes as it is so light, however you could substitute for rolled oats or quinoa flakes. Take extreme care heating the egg white and other wet ingredients on the stove, as you do not want to cook the egg! These cute little sweet cups can be stored in an air tight plastic container for seven days but I seriously doubt that they will last that long in your kitchen as they are so light and moreish! 

INGREDIENTS

  • 1 egg white
  • 3 generous tablespoons of honey, maple syrup or rice malt syrup
  • 2 tablespoons rice bran oil
  • 3 tablespoons water 
  • 2 cups of puffed rice 
  • 1 cup of mixed dried fruit & raw nuts
  • 1 teaspoon ground cinnamon
  • 1/2 teaspoon ground nutmeg
  • 1/3 cup shredded coconut 
  • patty cake holders- disposable or washable 

COOKING 

1. Preheat oven to 180 degrees celsius. Line a 12 hole muffin tin with the patty cake holders. 

2. Pour the egg white, whatever sweetener you are using, oil, cinnamon, nutmeg and 3 tablespoons of water into a small pan. Heat over very low heat, making sure not to cook the egg white, stirring for just a couple minutes or until the mixture is runny and warm. 

3. In a large bowl combine the puffed rice, mixed fruit & nuts and coconut and stir. Pour in the warm liquid from step 2 and stir well to combine until all the dry ingredients are wet. If this does not occur, add a splash more of your sweetener. 

4. Spoon the mixture into the prepared patty cake holders. Bake in the oven for 30-35 minutes or until the cups are brown in colour. Remove from heat and leave to cool completely. 

Makes / 12 
Total Preparation time / 10 minutes maximum 
Total Cooking time / 30-35 minutes 

x Emily 

Sunday, May 17, 2015

CAROB or DARK CHOCOLATE GLUTEN FREE COOKIES


I've made this recipe five times over the past week, in an attempt to get the ingredients and their amounts exactly right. I have also served these cookies to many people over this time period, but the person who has most enjoyed these cookies is my fiancee! He has put in a request for these cookies to be baked every single week from now on. If you do not like the idea of caffeine in your cookies, opt for the carob option. If you feel cheated eating a cookie without chocolate in it, add dark chocolate chips or cacao nibs. If you do not eat eggs, replace the 1 egg with 2 extra tablespoons of coconut oil. The only problem you will face with these cookies is just eating one at a time! 

Ingredients
  • 1/3 cup real maple syrup (not flavoured)
  • 1/3 cup carob buttons or dark chocolate or cacao nibs 
  • 3/4 cup almond meal
  • 1/2 cup coconut flour
  • 1 teaspoon bi-carb of soda
  • 1 teaspoon ground cinnamon
  • 1 free range egg
  • 2 tablespoons coconut oil, in liquid form 
  • pinch of sea salt

Baking

1. Preheat oven to 180 degrees celsius and line a baking tray with baking paper. 

2. Combine all ingredients in a large mixing bowl and stir well to combine. 

3. Shape the dough into 12 even sized balls, then flatten with your hand or a fork on the prepared baking tray. 

4. Bake for 20 minutes at 180 degrees, then lower the heat to 160 degrees for 5 minutes. 

5. Remove from the oven and leave to cool completely - this is the hardest step of all! 

Makes / 10 / 12
Total Baking time / 25 minutes 


x Emily 

Sunday, November 30, 2014

FRUIT ICEBLOCKS


What better than another popsicle/ice block recipe to celebrate the very first day of summer in Australia?! Regardless of the fact that Queensland has been feeling the summer heat for the past two months, I except this December, January and February to be absolute scorchers! And what better way to cool down than with a refreshing, guilt-free fruit ice block? Besides jumping in the pool that is;) Below are my four favourite fruit iceblock recipes! I encourage you to get creative and blend whatever fruit you have in the fridge with some no sugar coconut water for a low calorie treat! 


Mango Coconut 

Ingredients

  • 200g fresh or frozen mango 
  • 2 tablespoons shredded coconut 
  • 1 cup (250ml) unsweetened almond milk / coconut milk / whatever milk you wish
  • 1/2 cup water 
  • 6 popsicle/ice block moulds

Method

1. Place the mango, coconut, milk and water in a blender and blend until smooth. 

2. Pour the mango mixture evenly between the 6 moulds.

3. Freeze for a few hours (minimum of 4) before serving. To remove the popsicle from its mould, run under boiling hot water for a few seconds. 

Makes / 6 iceblocks 


Watermelon & Kiwifruit 

Ingredients

  • 200g fresh or frozen watermelon, no black seeds
  • the flesh of 2 medium kiwifruit or 100g 
  • 1 cup coconut water 
  • 6 popsicle/ice block moulds 

Method 

1. Combine the watermelon, kiwi and coconut water in a blender and blend until smooth. 

2. Pour the mixture evenly between the 6 moulds. 

3. Freeze for a few hours (minimum of 4) before serving. To remove the popsicle from its mould, run under boiling hot water for a few seconds. 

Makes / 6 iceblocks 


Tropical

Ingredients

  • 150g fresh or frozen mango 
  • 150g fresh or frozen pineapple
  • 1 frozen banana
  • 1 1/2 cups no sugar coconut water 
  • 6-7 popsicle/ice block moulds 

Method 

1. Combine the mango, pineapple, banana and coconut water in a blender and blend until smooth. 

2. Pour the mango mixture evenly between the 6 moulds. This recipe fills a little more than 6 moulds; if you do not have any more iceblock moulds you can freeze it in a small bowl. 

3. Freeze for a few hours (minimum of 4) before serving. To remove the popsicle from its mould, run under boiling hot water for a few seconds. 

Makes / 6-7 iceblocks 


Raspberry & Rockmelon

Ingredients 

  • 100g raspberries, fresh or frozen 
  • 200g rockmelon pieces, fresh or frozen 
  • 1 cup coconut water 

Method

1. Combine the raspberries, rockmelon and coconut water in a blender and blend until smooth. 


2. Pour the mixture evenly between the 6 moulds. This recipe fills a little more than 6 moulds; if you do not have any more iceblock moulds you can freeze it in a small bowl. 

3. Freeze for a few hours (minimum of 4) before serving. To remove the popsicle from its mould, run under boiling hot water for a few seconds. 

Makes 6 / 7 iceblocks 


x Emily 


Wednesday, October 29, 2014

CHOC BANANA POPSICLES / ICE CREAM


I've tweaked this recipe several times over the past few weeks and feel that the below ingredient list is at its best. Half an avocado is a necessity, as it makes the mixture creamy and smooth. A frozen banana (or 2 small) is almost a must for creating the ice cream consistency. I like to use 1/2 cup unsweetened almond milk and 1/2 cup unsweetened vanilla almond milk for a delicious flavour, however any almond milk would do. My fiancee and I love these choc banana popsicles, as they taste like a guilt-free ice cream and have been cooling us down over the past few steamy days! 

Ingredients

  • 1 large frozen banana or 2 small frozen bananas
  • 2 heaped tablespoons cacao powder
  • pinch of sea salt
  • 1/2 a medium avocado 
  • 1 tablespoon organic maple syrup
  • 1 cup unsweetened almond milk
  • 1/2 cup water 
  • 6 ice block / popsicle moulds

Method

1. Place all the ingredients in a good blender. Blend on a high setting until smooth and all ingredients are well combined. You may need to add more water if the mixture is too thick. 

2. Pour the mixture evenly into 6 ice block/ popsicle moulds and place in the freezer for a minimum of 3 hours. 

To eat- run the mould under hot water for a few seconds to loosen the popsicle. 

Makes / 6 
Total Preparation time / 5 minutes 
Total Freezing time / minimum of 3 hours 

x Emily 

Thursday, September 18, 2014

ROLLED OAT & CACAO BLISS BALLS


I often fail miserably to have just one of these bliss balls a day, however I try never to go over two a day. Thess balls were inspired from a delicious batch a lovely client gave me to sample a few weeks ago. If you do not have a food processor handy, not to worry. Instead you can just mix all the ingredients together in a large bowl; your bliss balls will take on a chunkier texture that is equally as nice as a smooth consistency. I often find myself doubling the recipe so I have lots of these treats in the fridge! You could use puffed rice or puffed quinoa instead of oats. 

Ingredients
  • 1 1/2 cups rolled oats (or gluten-free rolled oats if celiac)
  • 2-3 heaped tablespoons raw cacao (depends on how chocolatey you want it!)
  • 1/4 cup organic maple syrup or honey 
  • 2 heaped tablespoons natural peanut butter (contains only peanuts)
  • 1 heaped tablespoon hulled tahini (or substitute for another tablespoon of peanut butter)
  • pinch of sea salt
  • 1-2 tablespoons coconut oil (in liquid form)
  • 1/4 cup water 
  • Optional- 2 heaped tablespoons of protein powder (I use rice or pea protein powder) 
  • Desiccated coconut - to roll balls in 

Method

1. Process all the ingredients in a food processor until well combined. If the mixture is too dry, add additional water; 1 tablespoon at a time to the processor and stir. (Without a food processor: stir all the ingredients in a large bowl until well combined. Add more water if needed). 

2. Pour a layer of desiccated coconut on a serving plate. With wet hands roll each ball then roll in the coconut. Place in an airtight container and refrigerate until ready to eat. 

Makes / 12-13 medium balls 

x Emily 

Tuesday, September 16, 2014

TERESA CUTTER'S HEALTHY CARROT CAKE


This is by far the most delicious carrot cake I have never had the pleasure of eating. It is filled with half a kilo of vegetables, low in sugar and gluten & dairy free. It is also incredibly easy to make, as it does not require any electric mixing or any icing. I served this cake on father's day to eight people (myself included) and we all loved it. Looking past the moistness and lightness of this cake, it is also very good for you. The 500 grams of carrots in this cake contain lots of vitamin A and carotenoids that assist with a healthy immune system. Almond meal is always a foundation in the cakes that I bake, as they take the place of flour beautifully, create a moist texture and are choc-full of protein. 

Ingredients


  • 500g grated carrots
  • 3 free-range eggs, lightly beaten
  • 2 teaspoons vanilla extract or essence
  • 2 teaspoons cinnamon
  • ½ teaspoon nutmeg
  • 300 g almond meal
  • 50 ml macadamia coconut oil, plus extra to grease
  • 160 g organic maple syrup, honey or rice malt syrup
  • 1 cup sultanas
  • 2 teaspoons gluten free baking powder
  • Optional- 1/2 cup chopped walnuts or other nut 

Cooking 

1. Preheat a fan forced oven to 160 degrees celsius. Line a 18-20cm baking tin with baking paper and grease lightly with coconut oil. 

2. Combine carrot, eggs, vanilla, cinnamon, nutmeg, almond meal, oil, sweetener, sultanas, baking powder and nuts, if using. Stir well until all ingredients are combined. 

3. Bake in the oven for 60-90 minutes, checking every 5-10 minutes after the 60 minute mark to see if the cake is cooked through. Cover with foil if the top of the cake starts to really brown. 

4. Remove the cake from the oven, leave it to cool completely in the tin and then gently turn the cake out. 

Serves approx. 16. This cake is tasty enough to serve without icing but you can top with natural yoghurt if you desire. 

Total Preparation time / 15 - 20 minutes 
Total Cooking time / 60-90 minutes plus cooling time. 

x Emily 


Monday, August 11, 2014

95 CALORIE ANZAC BISCUITS


Who doesn’t love a good anzac biscuit? Especially one that you can eat without feeling guilty whilst following a healthy eating plan! These anzac biscuits are super cute and very moreish. Be mindful that they are 95 calories each, so only 1 per day as a treat. 


After giving away all of my Mini Cacao Fudge Treats that I made last week, I decided that it was time for another treat. Michelle Bridges recipe for these biscuits calls for ¼ cup brown sugar, however if you use granulated stevia you save a massive amount of calories overall. I always like to bake with gluten-free flours, however you can use plain flour if it is more accessible to you as it contains the same amount of calories. I added more cinnamon than Michelle, as I love this spice and like to really taste it in desserts. I replaced golden syrup with honey as honey is slightly lighter in calories and I am not a big fan of golden syrup, even though theres a very neglected bottle of it in my pantry that desparetly needs to be used! No doubt I'll be sharing these bad boys around so I can clear my kitchen of sweets and be able to make another treat recipe next week! 

Ingredients

  • 1 1/2 cups rolled oats (150g)
  • 1/2 cup gluten-free plain flour, plus extra (75g)
  • 1/2 cup desiccated coconut (45g)
  • 2 teaspoons ground cinnamon (8g)
  • 1/4 cup granulated stevia 
  • 1/4 cup honey (85g)
  • 1/4 cup olive oil / rice bran oil (60g)
  • 1 teaspoon bicarb of soda (5g)

Baking  

1. Preheat a fan forced oven to 180 degrees celsius. Line a large baking tray with baking paper. 

2. Combine the oats, flour, coconut, cinnamon and stevia in a large bowl and stir well. 

3. Pour the honey, oil and 1/4 cup water (60g) into a small saucepan and heat over low-medium heat, stirring until all ingredients are mixed. Stir in the bicarb of soda and once the mixture has foamed, remove from heat. 

4. Pour the wet ingredients into the dry ingredients bowl and stir until well combined. To shape the biscuits, make sure your hands are slightly wet (you will need to re-lubricate your hands a few times).   Roll heaped tablespoons of the mixture and place on the prepared tray 2cm apart. Press each ball lightly with a fork covered in flour, just to flatten the biscuits slightly. 

5. Bake in the oven for 10-12 minutes, or until biscuits are golden brown. Remove from the oven and leave to cool completely on the tray (during this cooling time the biscuits will harden slightly, so do not worry if they are a little soft when you remove the tray from the oven). 

Makes  / 20 
Each biscuit / 95 calories
Total Preparation time / 20 minutes 
Total Baking time / 10-12 minutes 

x Emily 

Tuesday, July 29, 2014

BLUEBERRY MUFFINS (GLUTEN, DAIRY & REFINED SUGAR FREE)


This delicious blueberry muffin recipe is adapted from one such similar recipe found on the Food Matters website, brought to my attention by my lovely sister-in-law. Food Matters is a film and a revolution, based on the belief that ‘your body is worthy of good care and that nobody is more suitably qualified to care for it than yourself’.

Food Matters began with an illness in a family. The sufferer experienced severe Chronic Fatigue Syndrome, Depression and Anxiety that was treated with six different medications and left him feeling bedridden and worse than before he started taking the medicine. Family members could not convince the sufferer that the conventional medical approaches were not working, so they decided to try another medium; to make a film involving the world’s leading health and nutrition experts. These experts explained and proved to their unwell relative that ‘food is better medicine than drugs’ and within a mere three months the sufferer was off his medication, 50 pounds lighter and in excellent health.


This independently funded film has one very clear message: Food Matters. Go to http://www.foodmatters.tv/ to find out more about this powerful film. 

Ingredients

  • 2 cups almond meal
  • 1/2 cup coconut flour
  • pinch of sea salt
  • 1/2 teaspoon baking soda
  • 1 teaspoon ground cinnamon
  • 2 tablespoons maple syrup / honey
  • 1 teaspoon vanilla extract / powder
  • 1/4 cup melted coconut oil, plus extra to grease
  • 3 free-range eggs, lightly beaten
  • 1 cup oat / rice  / almond milk
  • 1 heaped cup fresh / frozen blueberries (thawed if frozen) 

Baking 

1. Preheat a fan force oven to 180 degrees celsius. Lightly grease a 12-hole muffin tin with coconut oil. 

2. In a large bowl combine the almond meal, coconut flour, salt, baking soda and ground cinnamon and stir to mix. Add the syrup / honey, vanilla, oil, eggs and milk and stir well to combine. Carefully fold in the blueberries. 

3. Spoon an equal amount of the mixture into each muffin hole. Bake in the oven for 30-35 minutes or longer if you want a firmer muffin. Leave the tray to cool for 10 minutes in the tin, then remove the muffins from the tin and leave to cool completely. 

Makes / 12 
Total Preparation time / 10 minutes 
Total Oven time / 30-35 minutes for a soft, moist muffin / longer for a firmer muffin 

x Emily 
Related Posts Plugin for WordPress, Blogger...